Gardening Basics
Successful gardening starts with the right practices at every stage. From preparing your soil to understanding when to start seeds indoors versus direct sowing, and how to manage pests, each step plays a role in growing healthy, productive plants. This guide walks you through the essentials to help you make informed decisions and set your garden up for a strong season from start to finish.
Soil Preparation
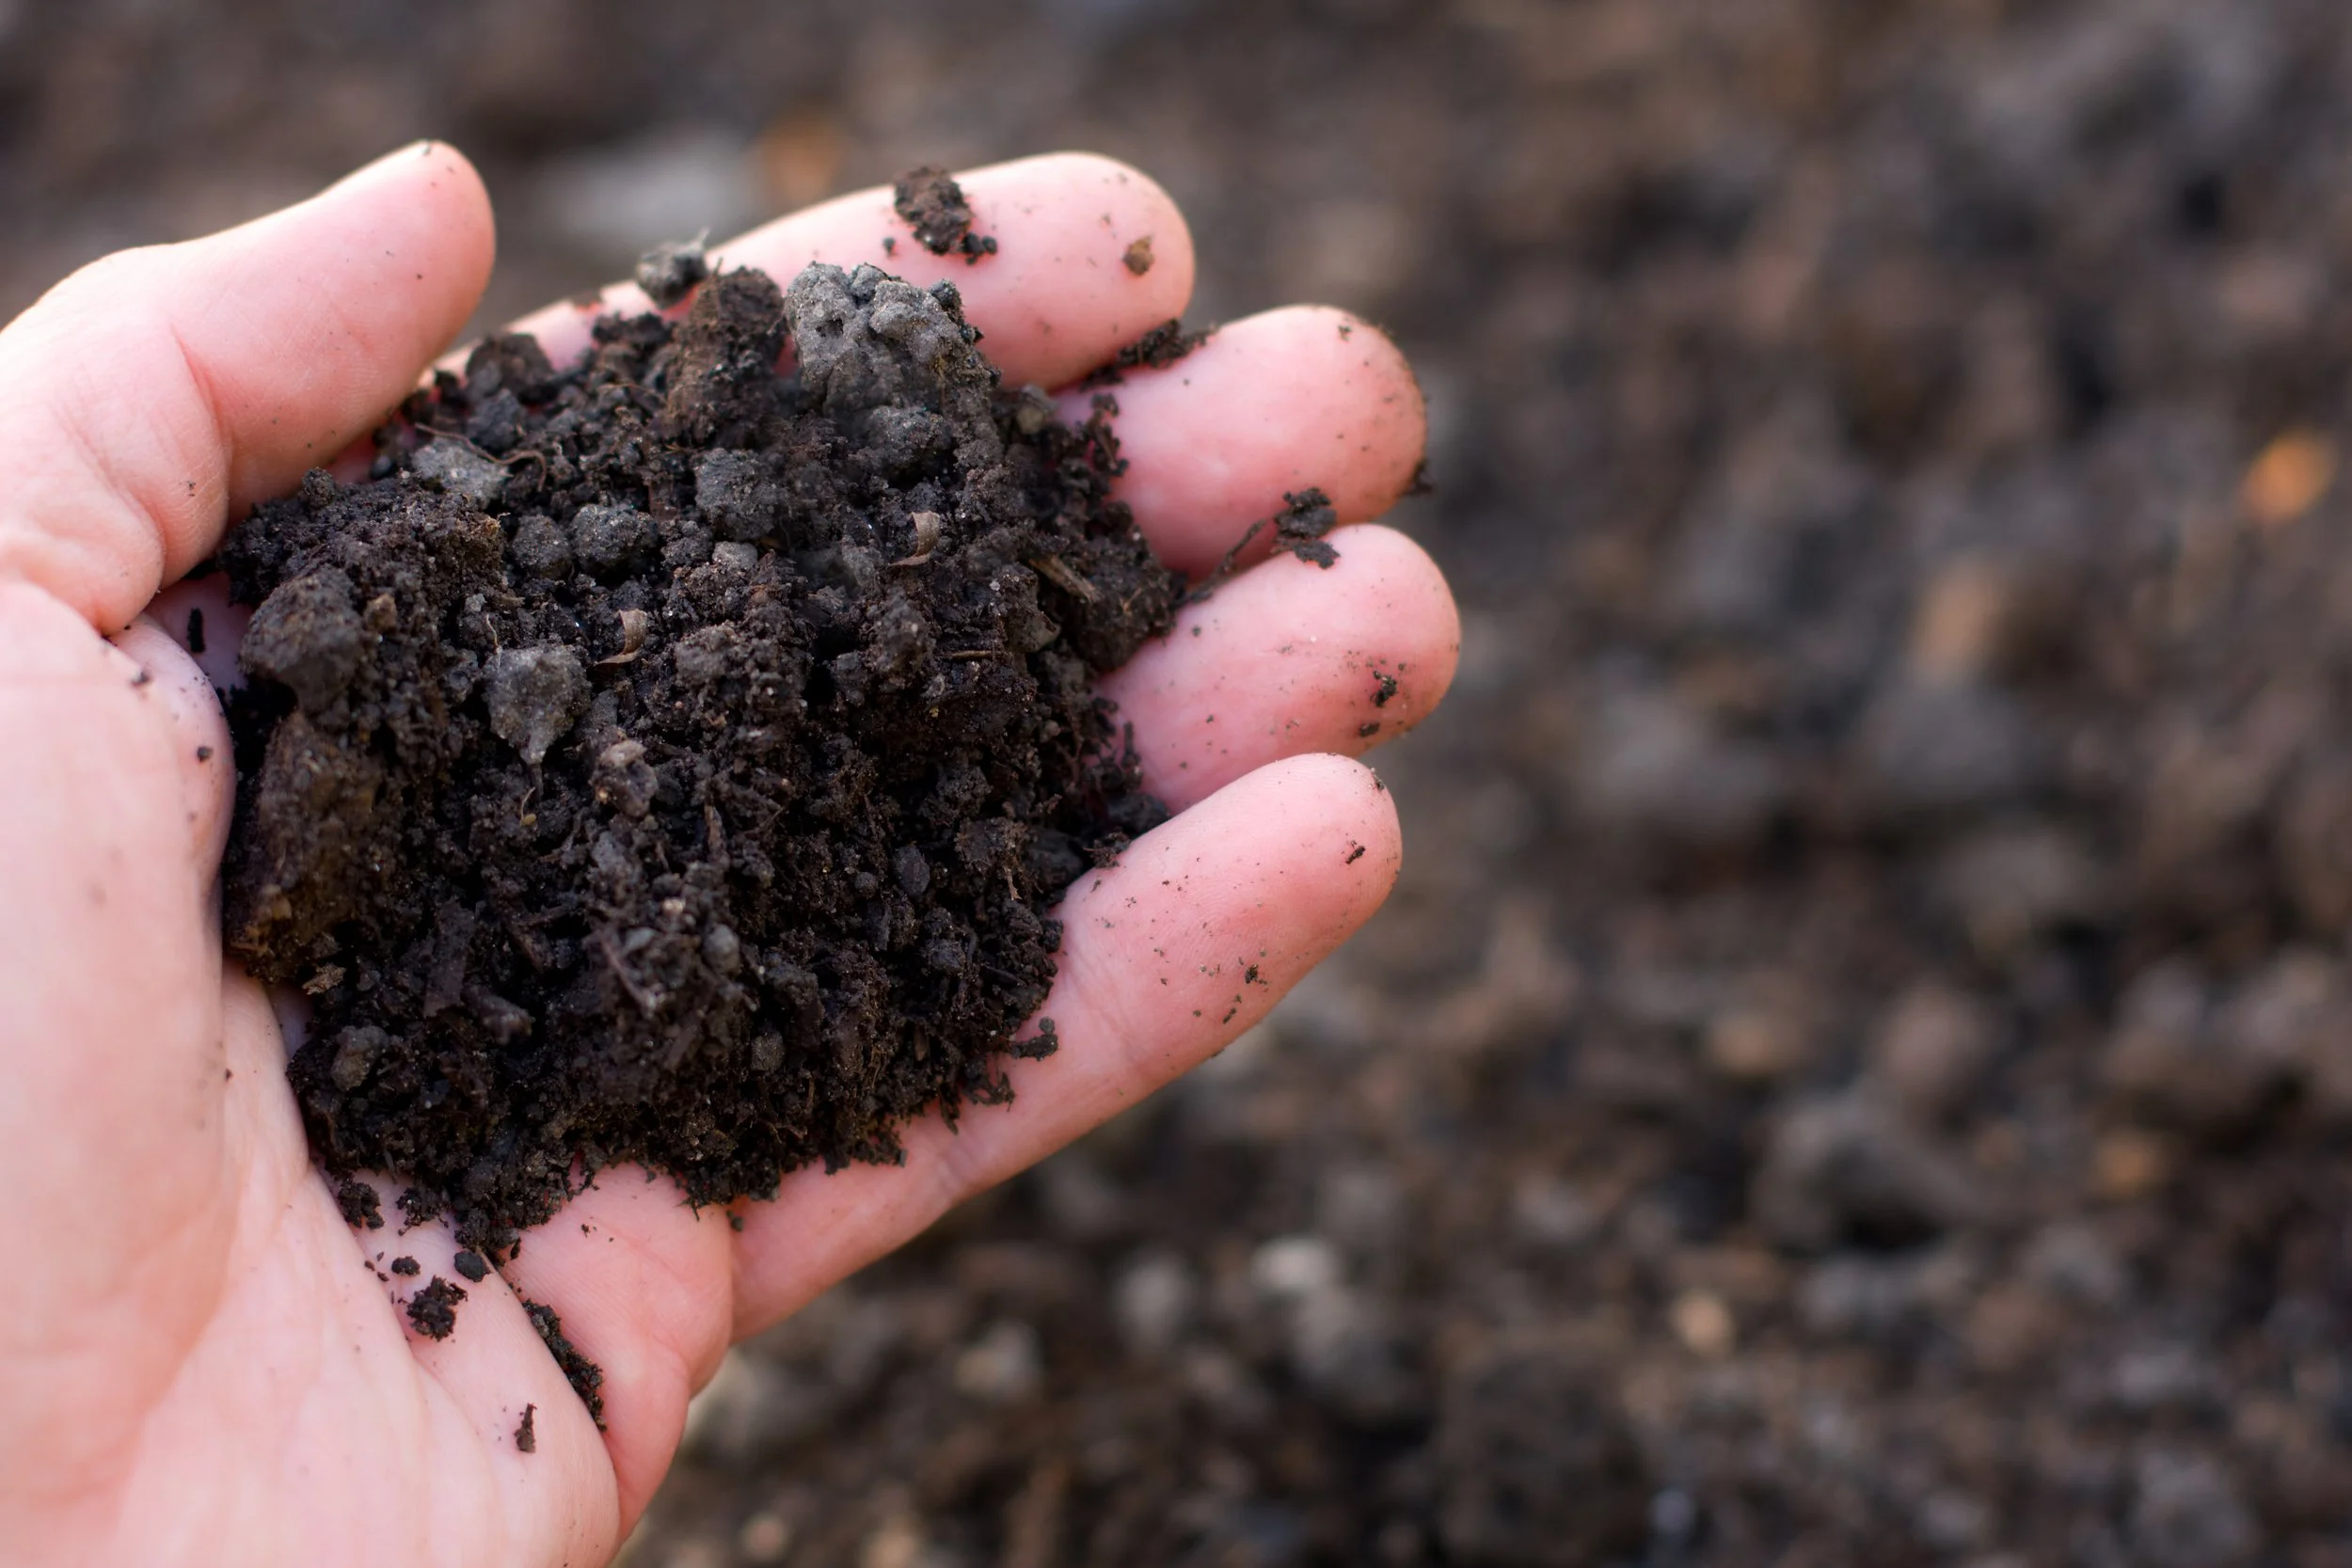
Most plants prefer deeply worked, composted, and well-drained soil with a slightly acidic to neutral pH. It is recommended to have your soil tested yearly, usually in the spring, although it is fine to have it tested in the fall as well. Your local university Extension Office/Master Gardener program should be able to provide guidance for having your soil professionally tested. They can also help you understand the results and how to amend your soil accordingly. Understanding the composition of your soil and its nutrients can help ensure your plants are receiving what they need without over-amending, which can cause issues like runoff/pollution or preventing plants from taking up the nutrients they actually need. Too much of some nutrients can also damage the plant, leading to undesired growth, chlorosis (yellowing of the leaves), and poor fruit/flower production.
Direct Sowing
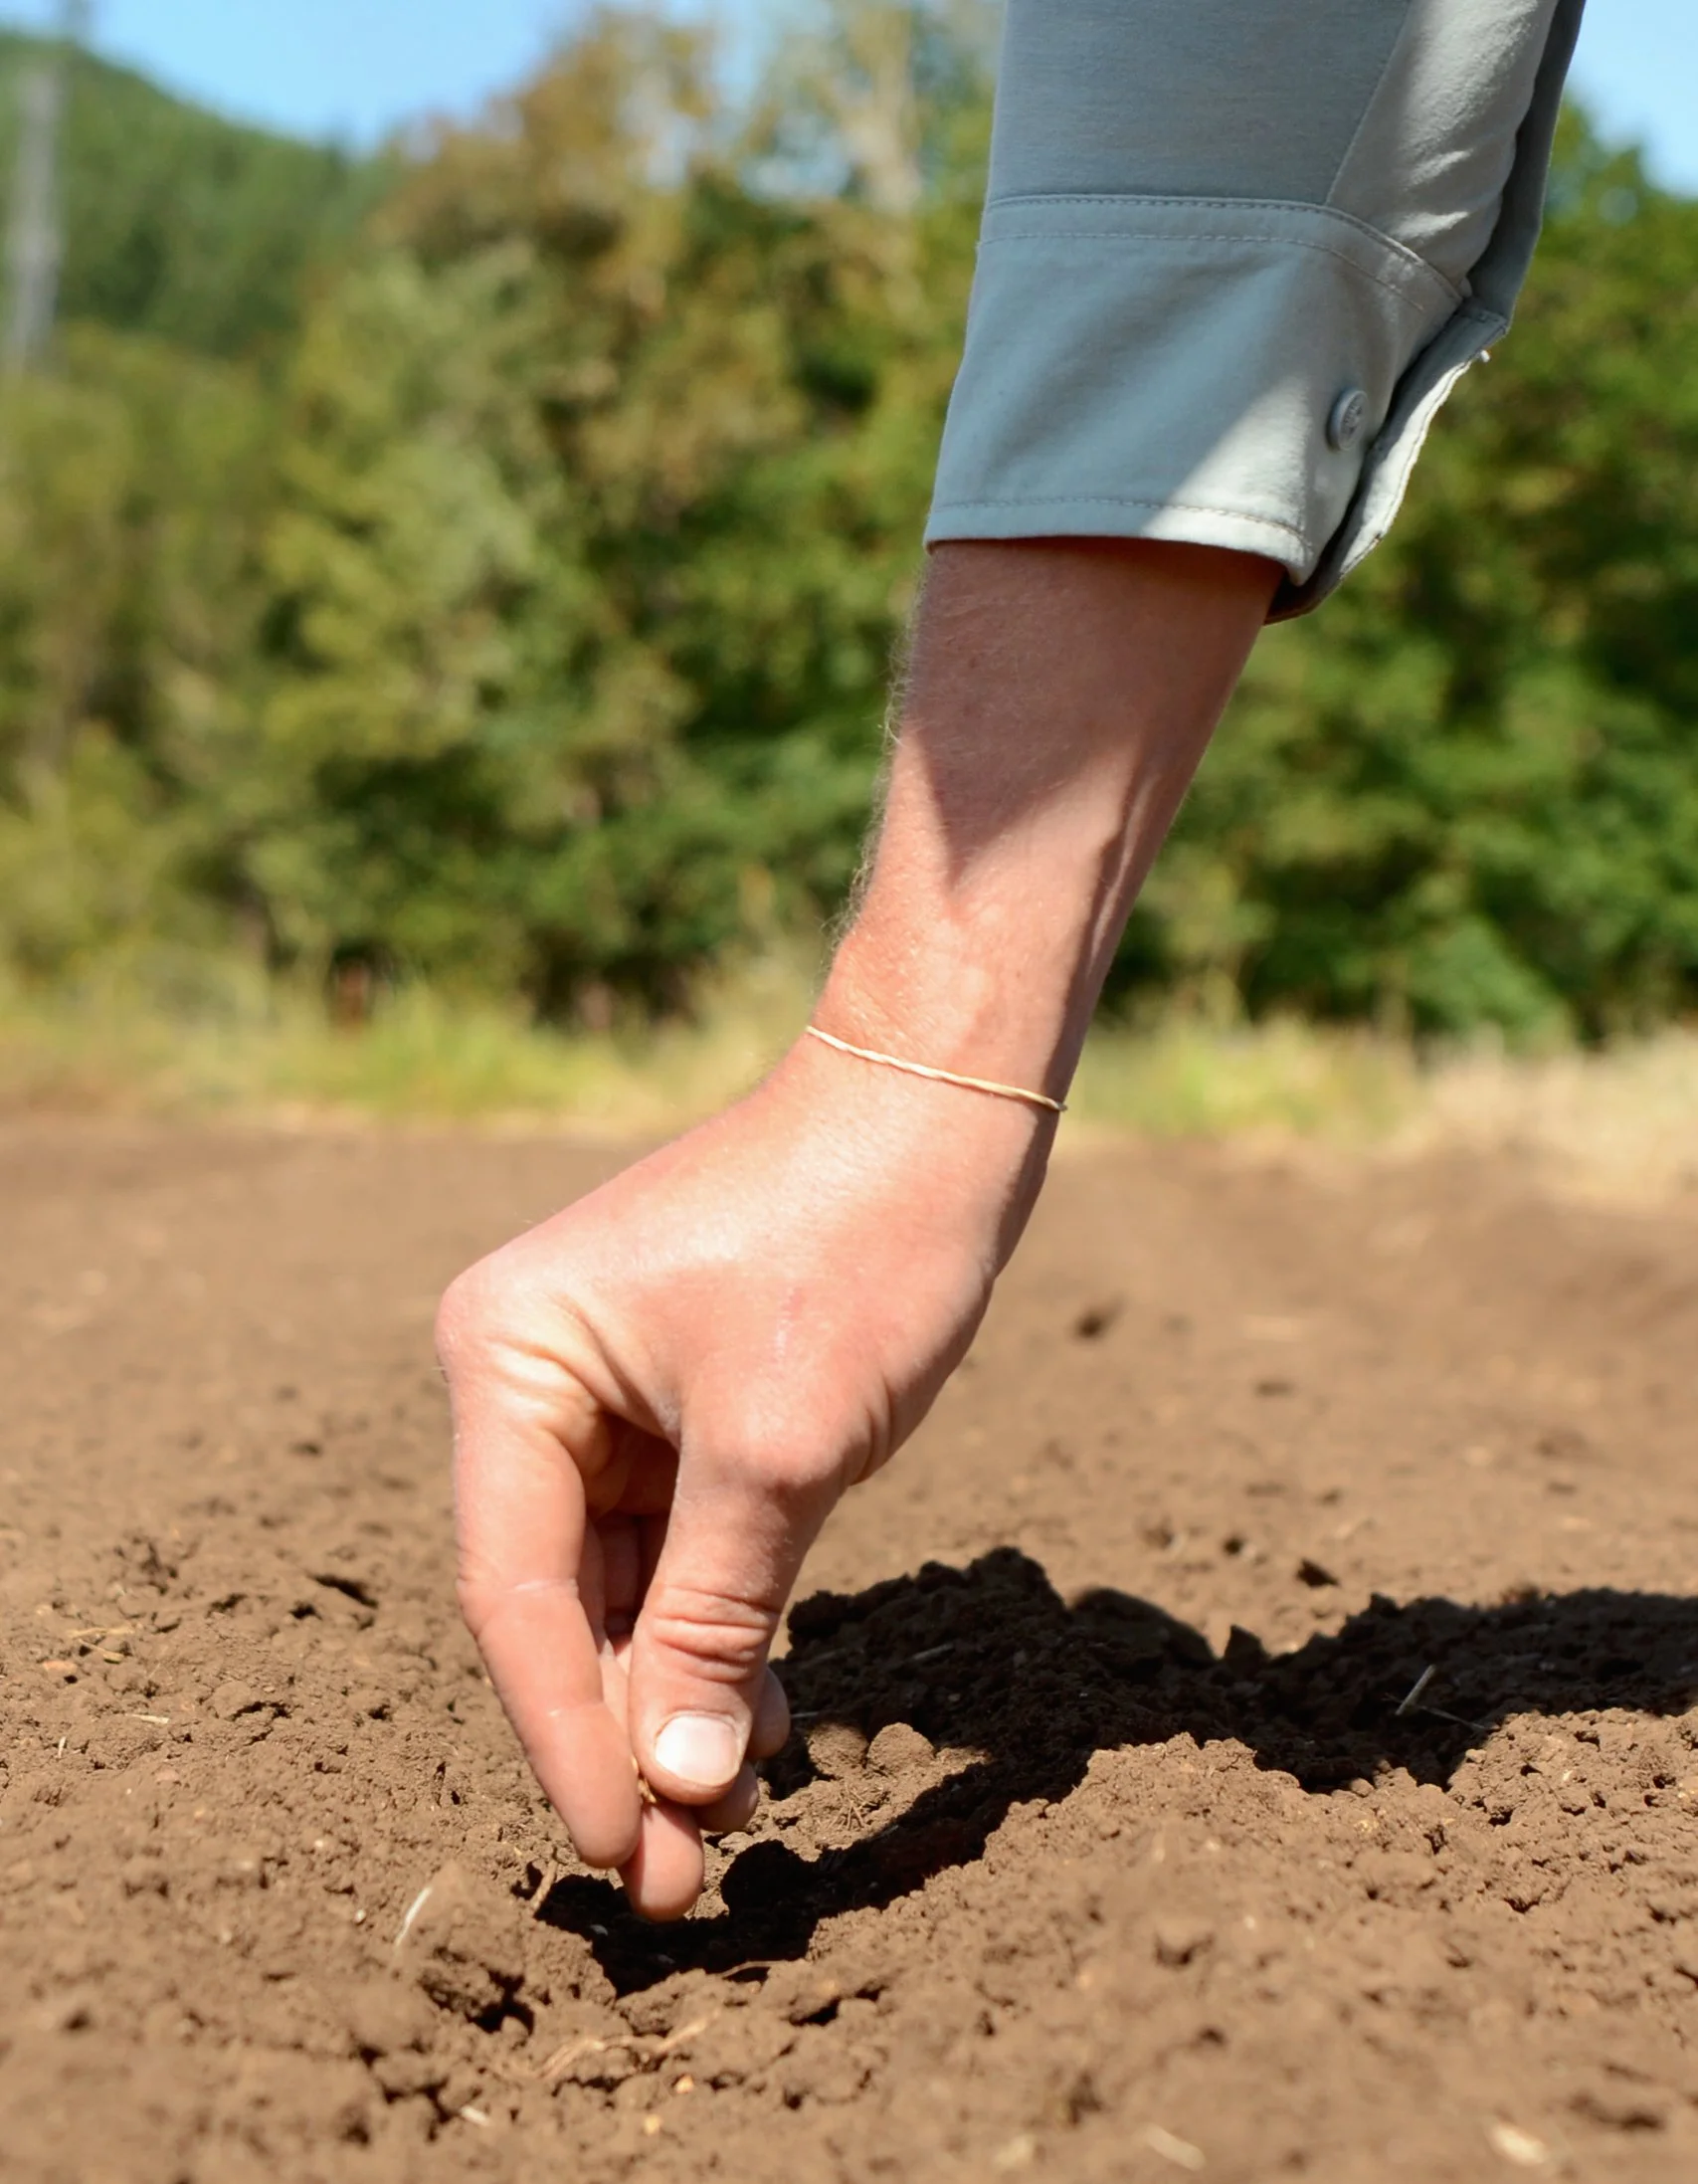
When direct sowing, start by digging a shallow furrow to mark the row. If fertilizing at the time of planting, band the fertilizer deeper than the seed will be planted. Seeds contain all the nutrients they need until the first couple sets of true leaves (the plant’s “normal” leaves) have formed, so the fertilizer should be placed where the roots will reach once they have developed, rather than directly surrounding the seeds. Plant your seed to the appropriate depth. Most seeds should be planted at a depth that is 2-3 times the size of the seed, but double check to confirm the proper depth for each seed. Cover the seed with soil, vermiculite, or sifted compost. Water in, ensuring you are watering enough to reach the depth of the seeds but being mindful not to wash the seed away. Use a nozzle such as the 1000 Water Breaker® Nozzle to soften the flow and help prevent the seed from being washed away. You may also want to plant into pre-moistened soil to help reduce the risk of seeds moving around. Keep the soil evenly moist during germination but avoid soggy soil to prevent rotting. Once the seedlings have their first 1-2 sets of true leaves, thin to the correct spacing for that crop.
Indoor Seeding
Certain crops should be started indoors rather than directly sown in the garden due to their germination requirements or the length of their growing season. Not all seeds should be started at the same time, however, as the time required to get from seed to transplant varies. Check our growing guides to confirm when the seeds should be started in relation to your area’s average last frost date (the date on which your area typically experiences frost for the last time in the spring). If you are unsure of this date, you can find it on the USDA’s website.
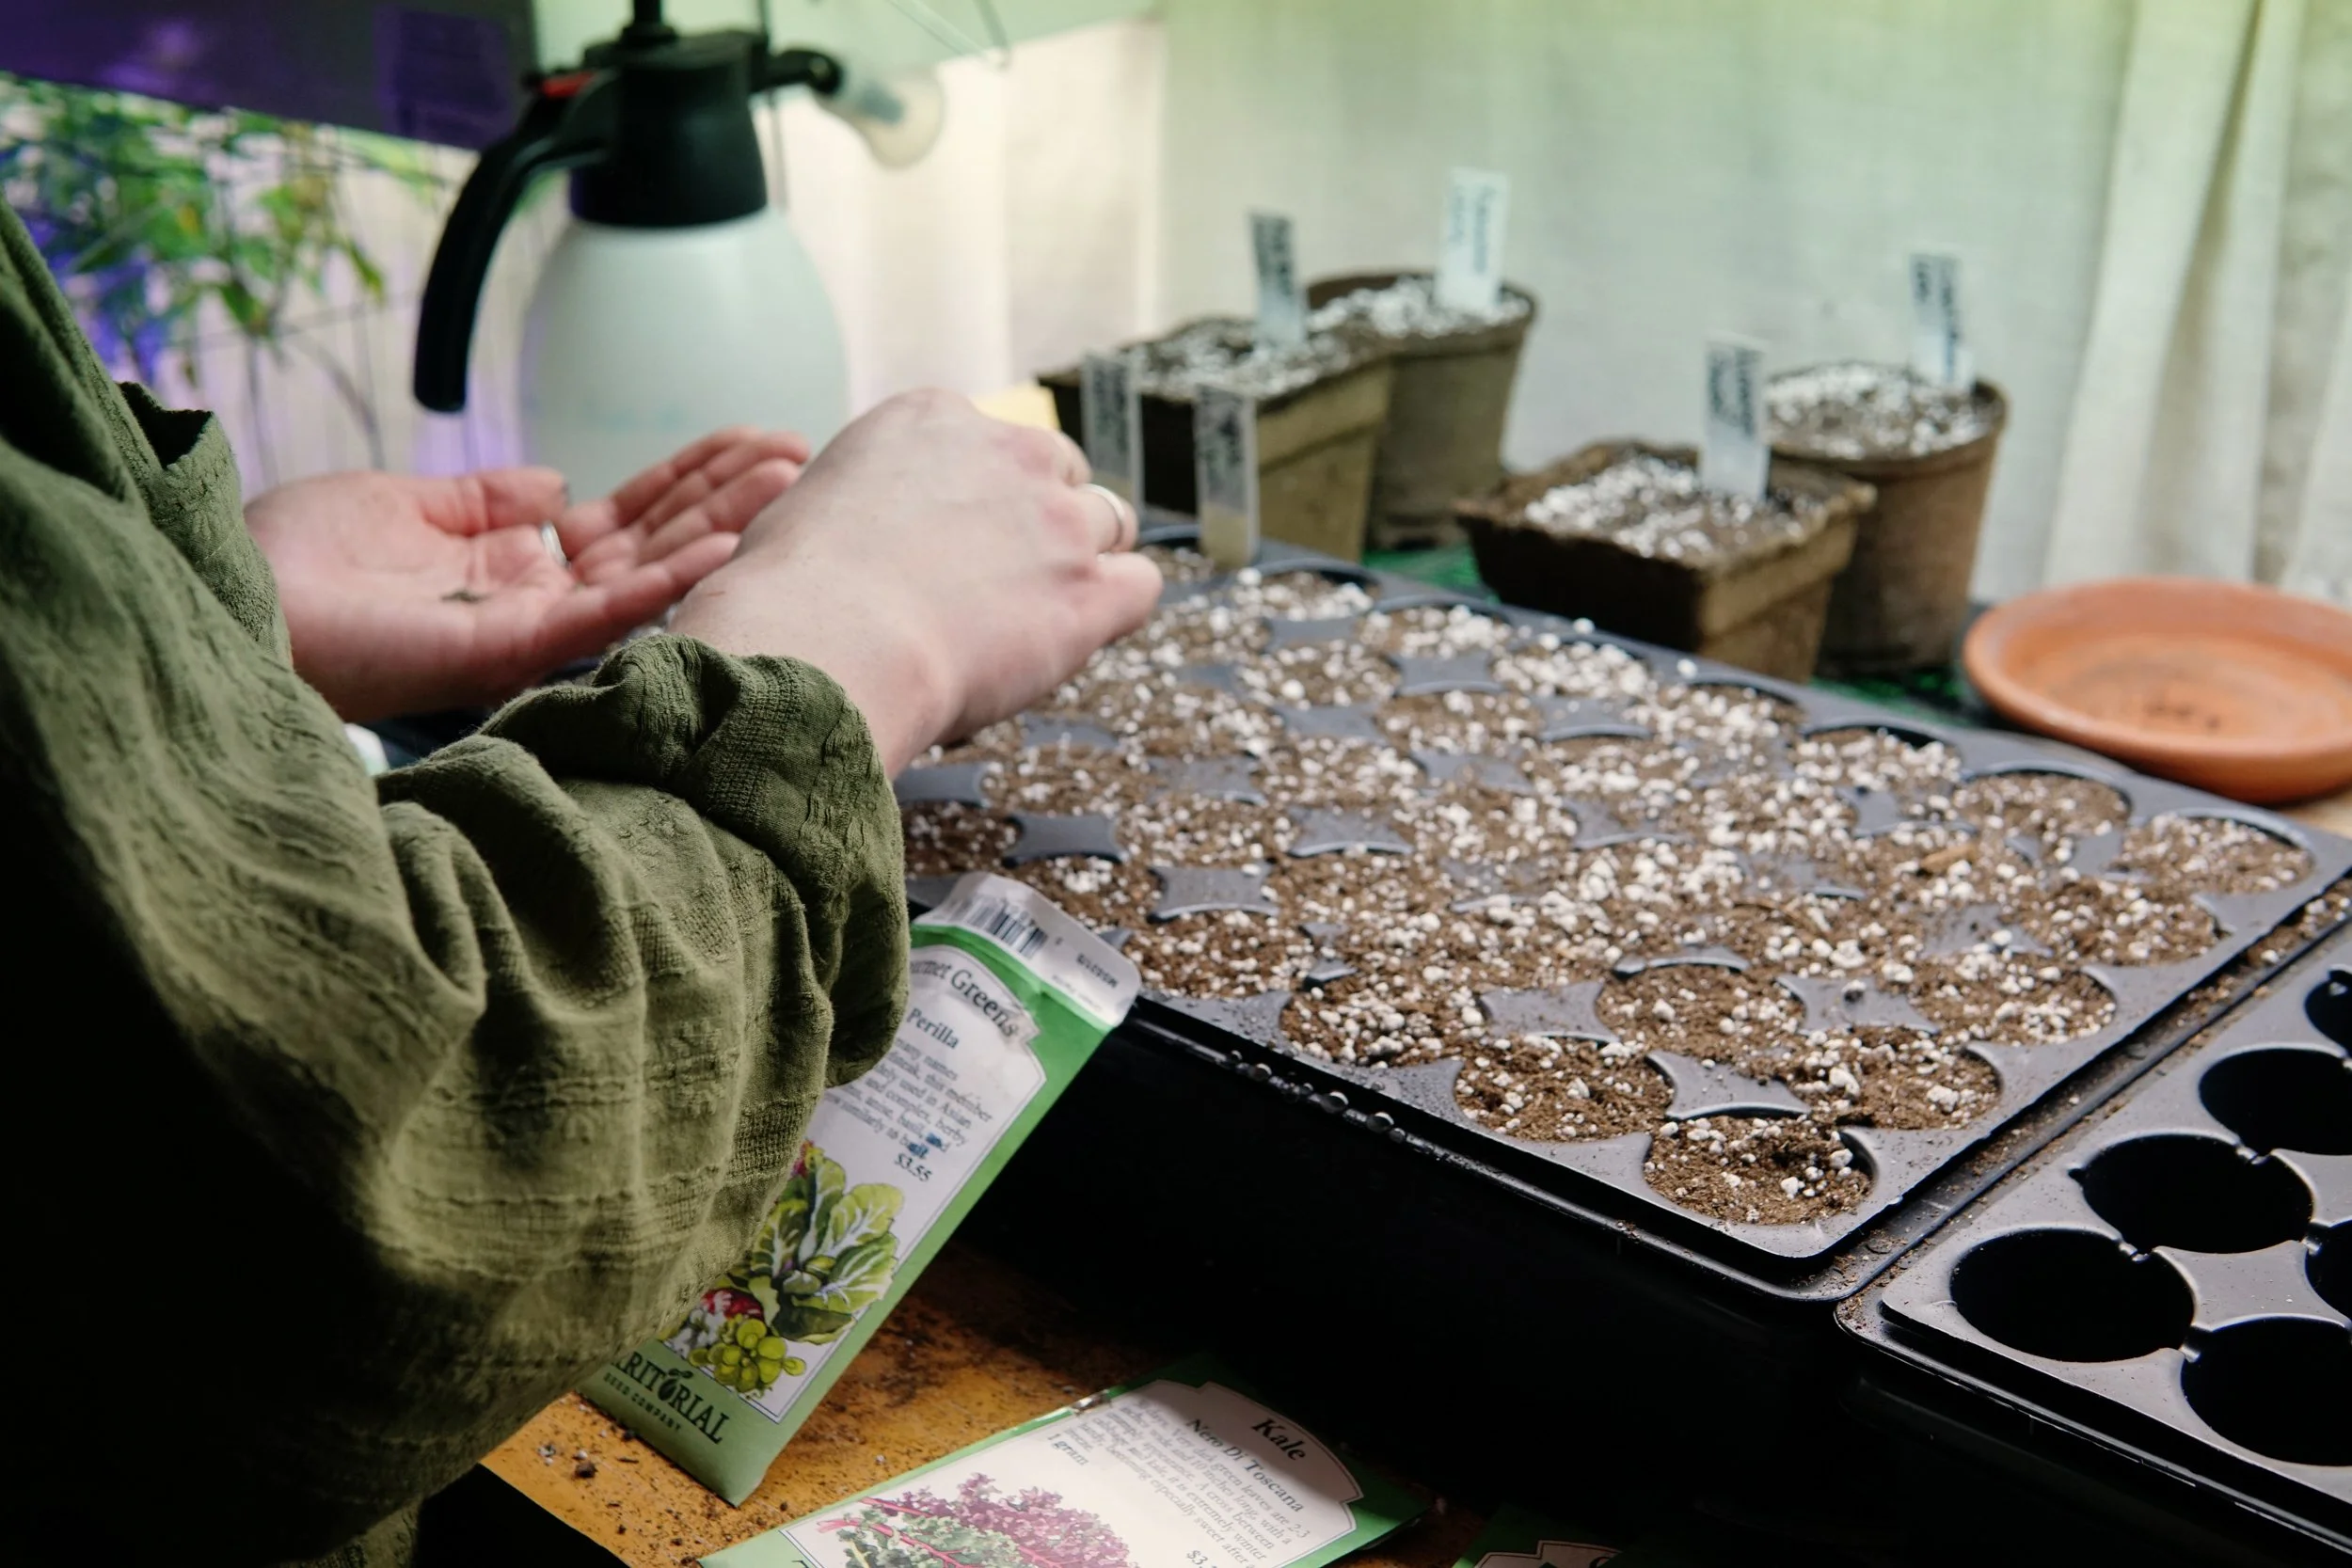
When starting seeds indoors, always use new and/or sanitized potting supplies and a sterile, soilless seed starting medium. If reusing trays and containers, sanitize using a 10% bleach solution and rinse well. Seeds can be started in trays or individual 3-4-inch pots. Use containers or trays that have proper drainage holes and have a secondary tray to catch any runoff. Ensure the seed is planted to the correct depth; check the proper depth for each crop. When planting fine seed, lightly press the seed into pre-watered medium so it makes good contact. For best results, plant 2-3 seeds per pot/cell.
Water in the seeds gently, ensuring the seeds are not washed away. You may choose to water from the bottom, placing water in the tray/container without drainage holes for the growing medium to slowly soak up, rather than watering from the top. This can help ensure the seeds don’t get moved around from the water pressure and allows the medium to become fully soaked. Whether you water from the bottom or the top, do not allow standing water to remain in the tray once the growing medium is moist. Keep the soil evenly moist during germination, but do not allow the soil to become soggy as this can lead to damping off, a devastating disease that can severely damage or kill seedlings and lead to other issues, such as fungal growth. Provide proper airflow, especially once the seedlings have emerged, using a fan if necessary to increase airflow. A dome can be used during germination but remove it once germination has occurred, so the seedlings and growing medium receive airflow.
Use heat mats or soil heating cable to keep the growing medium at the proper temperature. While this is not a requirement for many seeds, most will benefit from the growing medium that is consistently warmer than can be achieved without a mat. Warmer soil can help speed up the germination process and lead to stronger, healthier seedlings.
Place your trays in an area where they will receive plenty of light. While it is possible for seedlings to receive enough light through a south-facing window, it is recommended to use artificial light. You can use lights specifically designed for plants, most of which allow you to adjust the settings based on the desired outcome, but many people have found success using shop lights that have two cool white tubes per fixture or a combination of cool white and daylight tubes. The light should be placed 2-4 inches from the top of the seedlings (the closer the better) and adjusted as the seedlings grow. Utilize chains to make adjusting the light easier. If you notice your seedlings stretching or leaning, they are searching for light; adjust your setup so they receive adequate light. Lights should be kept on for 12-16 hours per day. Many plants require a period of darkness every day to develop properly, so avoid leaving the light on continuously. Use a timer so the lights are turned on and off automatically.
Once the seedlings are a couple inches tall, thin them so there is one per pot or cell. Carefully cut the weaker or smaller seedlings off at the soil line, rather than pulling them out, to avoid damaging the seedling you intend to keep. Do not attempt to separate the seedlings.
When the seedlings have 2-3 sets of true leaves (the leaves that look like the plant’s normal leaves), apply a foliar spray of liquid fertilizer, such as Age Old Grow, diluted to ¼ strength. Do not use full-strength fertilizer until the seedlings are transplanted outdoors to avoid overfertilizing.
Transplanting
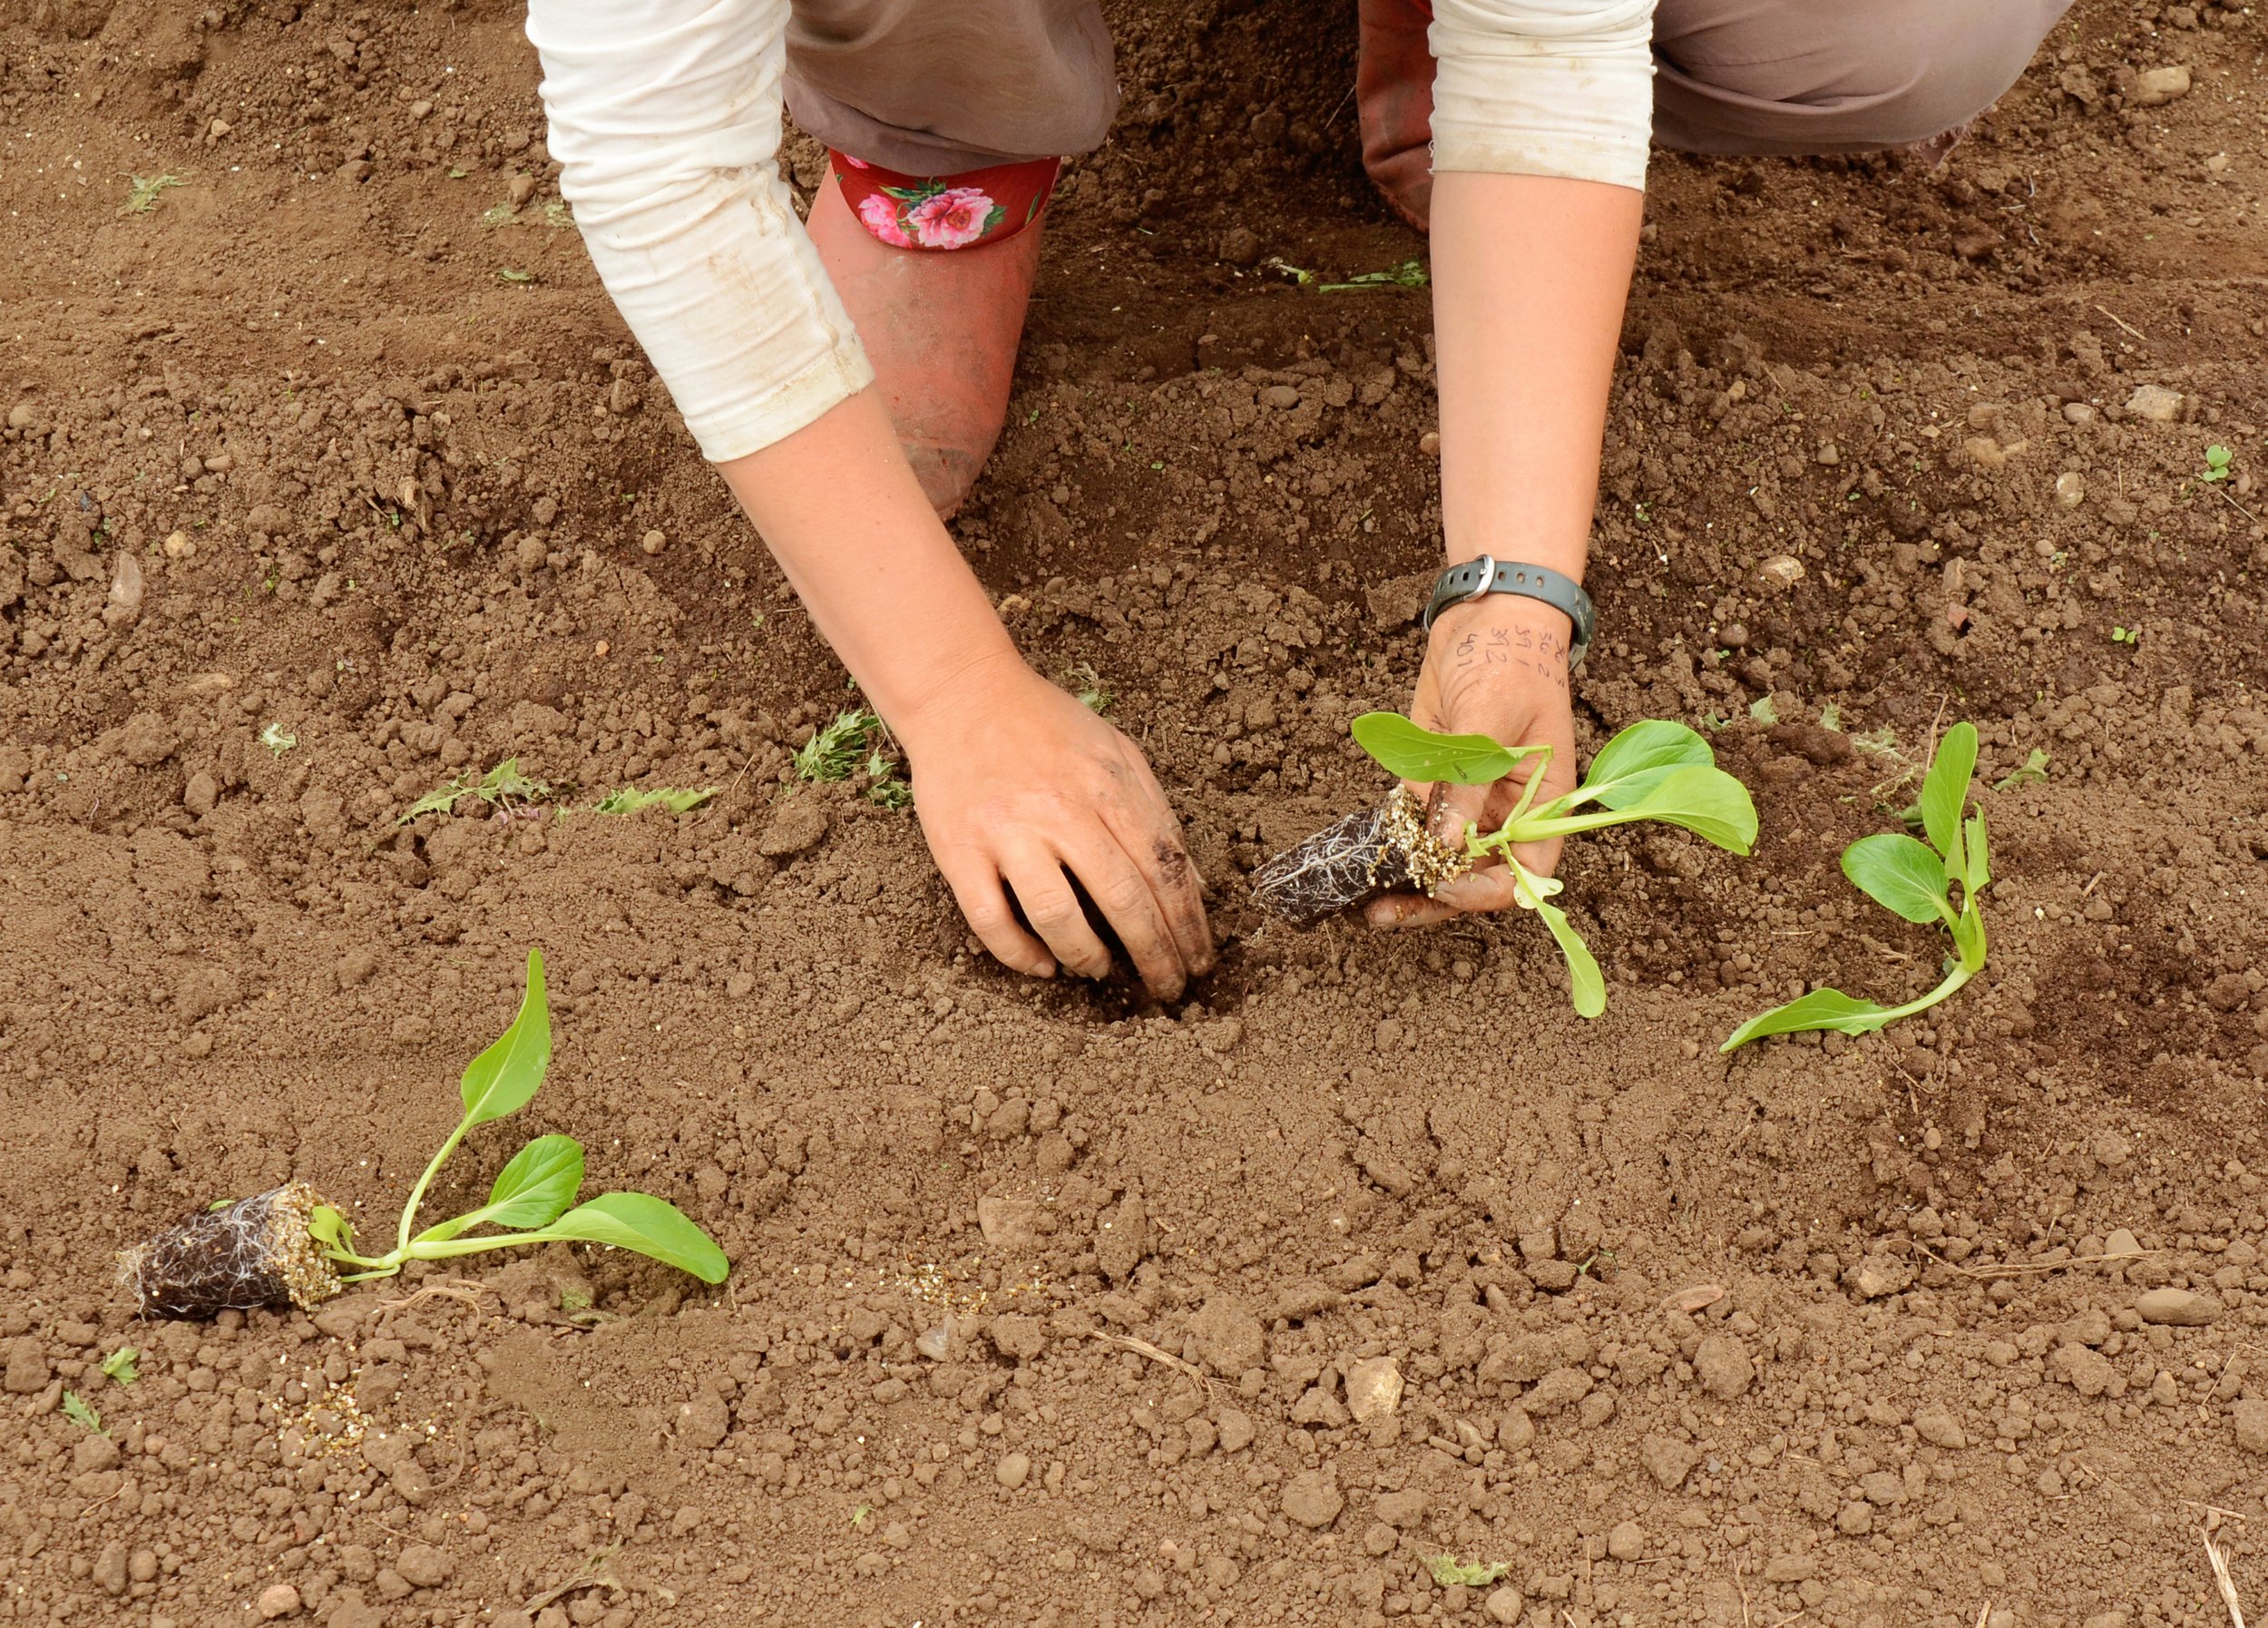
Starts are ready for transplant when they are well developed, but before they are root bound. Most warm-weather transplants, such as tomatoes, peppers, and eggplants, should be put out once the threat of frost has passed, while cool-season crops such as lettuce and brassicas can be planted out sooner. Do not plant out your transplant too early as this can lead to frost damage that can either stunt or kill the plant.
Harden off transplants by gradually exposing them to full sun and outside temperatures. This process typically takes 7-14 days and will help prevent shock. Start by placing the plants outside in the shade for a few hours. Slowly increase the amount of time the plants are outside as well as how much sun exposure they receive to prepare them for being planted outside.
Check the spacing for each crop before planting. Keep the soil level the same on the stem of the plant so it’s not too deep or two shallow, which the exception of tomatoes, which should be planted deeply. Irrigate well to ensure the roots do not dry out. Water deeply (low and slow) to allow the water to reach the roots and encourage them to grow deeper into the soil. Shallow watering can cause the roots to grow out, making the plant less stable especially in strong winds.
Cultivation
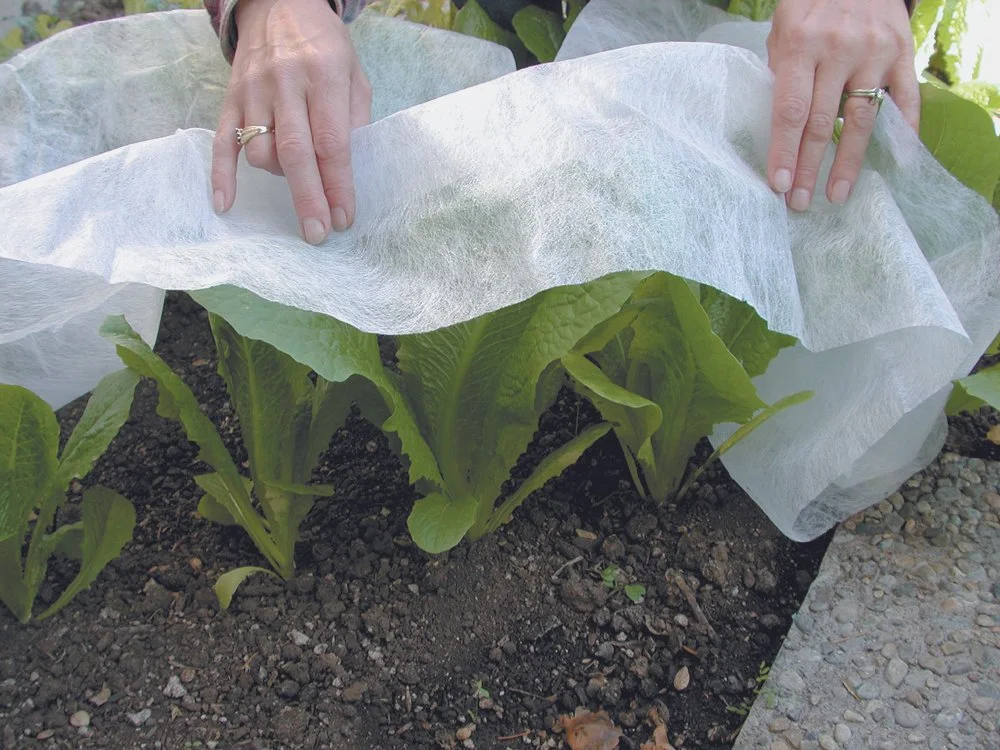
Utilize floating row covers to protect young plants from low evening temperatures, especially early in the season. Be mindful of early hot spells, however, as covers can create too much heat if left unchecked. Keep the growing area well watered and weed free. Avoid overhead irrigation, such as sprinklers; utilize a drip irrigation system or water by hand instead. Keep the leaves dry when watering to reduce fungal issues and sun scald. Water earlier in the day when possible as this reduces the amount of evaporation (which speeds up during the heat of the afternoon), increasing the amount of water the plants actually receive, and allows the soil to dry out a bit before the coolness of night. For early and mid-season fertilizing, use Age Old Grow or TSC’s Complete Fertilizer. For fruiting plants, we recommend a fertilizer high in phosphorus, such as Age Old Bloom, to encourage flowering/fruiting. Too much nitrogen can cause excess foliage and poor fruit set. Apply fertilizers based on the results of your soil test, in accordance with the instructions on the container. Crops will have varying nutrient requirements, so you may need to adjust the frequency or type of fertilizer to meet the plants’ needs.
Insects, Pests and Diseases
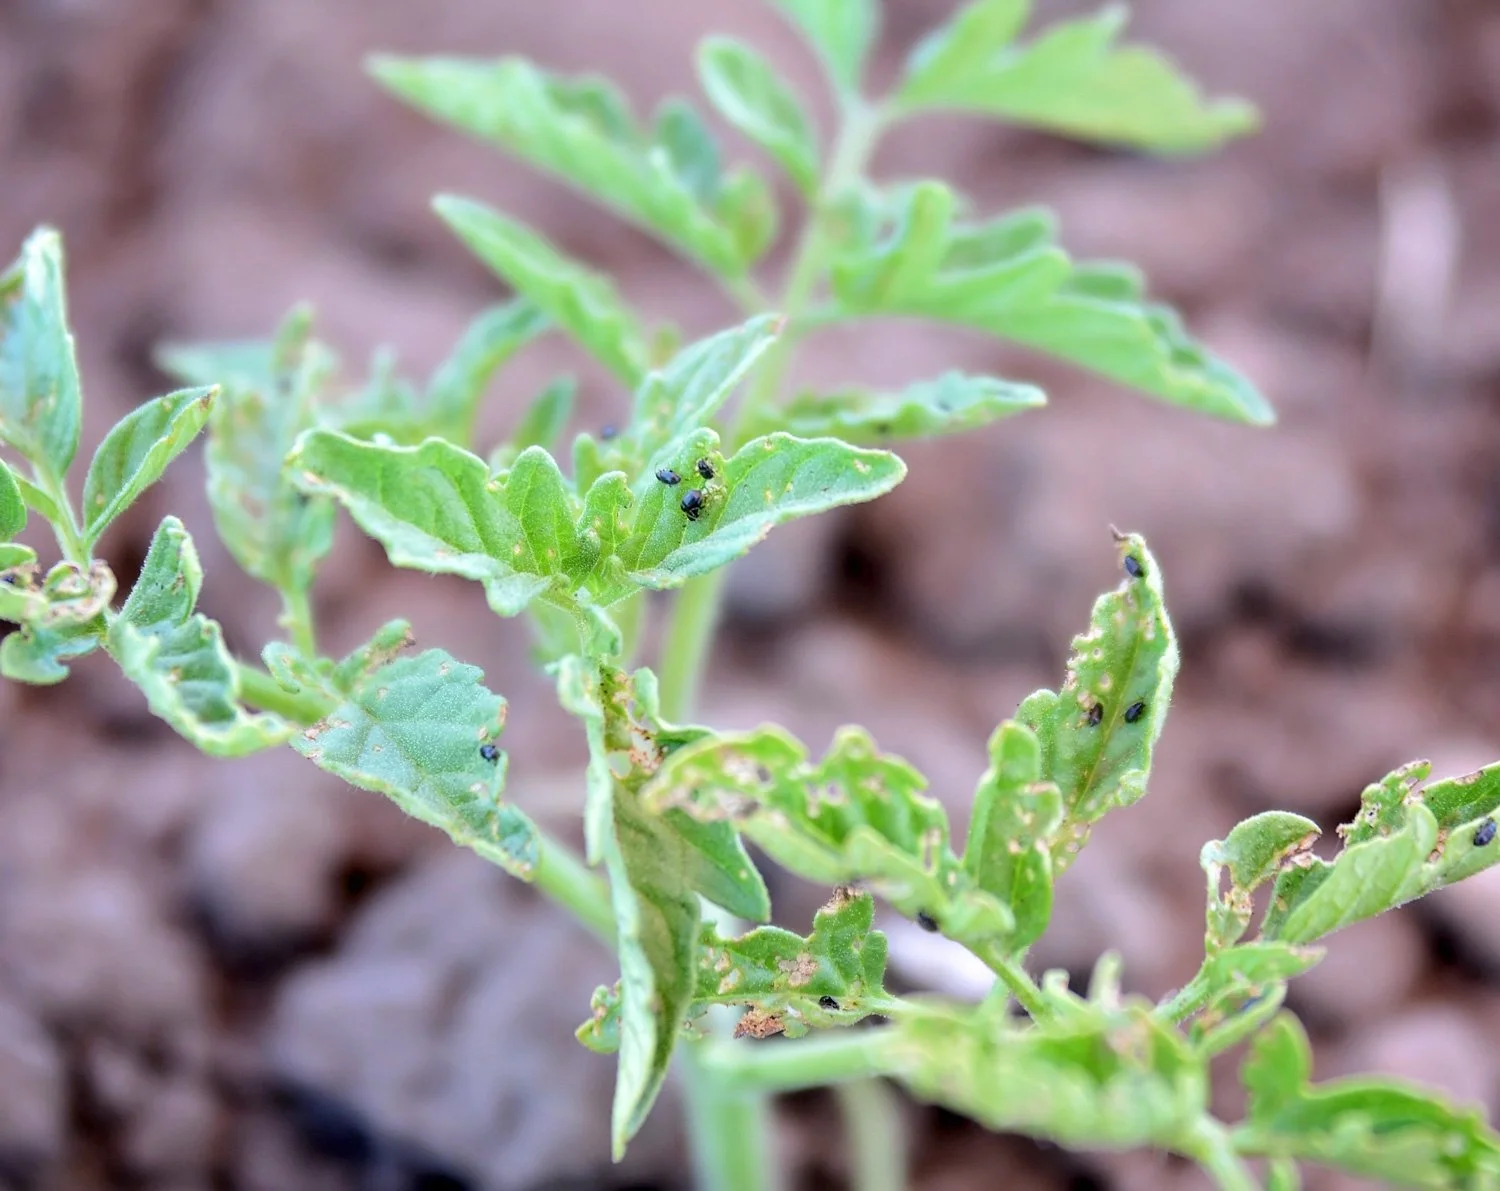
Strong, healthy plants can best withstand pest and disease pressure. Stay vigilant, checking regularly for signs of pests or disease, so you can respond rapidly and properly. Predatory nematodes can help control most insects that spend part of their lifecycle underground, and keeping up with weeding and removing debris can reduce the habitat available for pests. If you experience pest issues, it is important to determine which pest(s) you are dealing with so you can apply proper controls. Pyrethrin and predatory insects such as ladybugs are good for adult insect infestations, while Monterey B.t. specifically targets caterpillars and chewing worms. Other treatments such as Neem and Insecticidal Super Soap can help manage certain insects. Always review the label of the treatment to be sure it is intended to control the pest(s) you are treating for, that it can be used on the plants you are treating, and that you understand how and when to apply the treatment. For edible crops, double check how close to harvest the treatment can be applied – some treatments can be applied up to the day of harvest, while others have a waiting period of a few days to a few weeks.
Many plant diseases, such as bacterial and viral infections, cannot reasonably be treated or controlled once they are present, so prevention is key. There are several steps you can take to help reduce the likelihood of disease in your garden. Practice crop rotation, which varies by vegetable and often includes avoiding planting crops from the same family in the same area for several years – see each vegetable’s growing guide for recommendations.
Good garden sanitation also helps reduce plant diseases. Remove any diseased plant material immediately and dispose of it by either throwing it away or burning it; do not compost diseased plant material. Weed regularly and remove debris from the garden frequently. Once a crop is done for the season, remove all plant material. Sanitize your tools with a 10% bleach solution frequently and wash your hands regularly, especially after touching diseased plants. If disease issues are persistent, consider disease-resistant varieties. Ensure proper airflow to help reduce fungal diseases; if fungal diseases, such as mold or mildew, occur, they can typically be controlled by Neem.
Pest and disease issues vary by region, so it is always a good idea to contact your local extension office with questions and for specific guidance for your area.
Harvest and Storage
Always harvest your crops at proper maturity for peak flavor and nutrition. While days to maturity are provided for edible crops, it is not always an exact science, especially based on your area and growing environment. When it is time to harvest, avoid damaging or bruising produce. As a rule, use sharp, clean, sanitized tools, such as garden shears. Some crops, such as rhubarb, do best pulled by hand, rather than cut off with a knife or shears. When harvesting root crops such as turnips and radish, gently pulling the soil away from the plant can help make harvesting easier. See each crop for recommendations. Harvest when the weather is cool, especially for leafy greens; if possible, avoid harvesting during the heat of the afternoon. Most crops should be chilled promptly to maintain flavor and extend storage life; do not place tomatoes in the fridge as this changes the flavor. If necessary, gently remove excess soil from crops if needed, but avoid washing the produce until you are ready to use it.